The Ultimate First-Timer’s Japan Itinerary
(Tokyo-Osaka-Kyoto-Hakone)
I never dreamed I would be visiting Japan for the first time, let alone creating this first timer’s itinerary. I’ll let you in on a little secret. Eight years ago, I was a severely anxious flier. Four years ago, I was still the person who drug my husband to the airport three hours early, even when we had TSA pre-check AND when our flight was at 6:00 AM. So, me? Fly over an open body of water for twelve hours? No ma’am. I’ve seen Lost.
Then, COVID enters the chat. I decided enough was enough and made a lot of lifestyle changes. Life is too precious to let the little things and what ifs hold us back. A few international trips later, (and David’s incessant begging) I found a great deal on flights to Tokyo and booked the tickets before I could second guess myself.
So I have my tickets, now what? Tackling your Japan itinerary as a first time visitor might feel overwhelming, and trust me, I get it. I overanalyzed every detail myself (shocker). After weeks of research, I then spent several more weeks second-guessing my hotel choices, only to realize my initial picks were perfect after all. This blog post is here to make your first Japan trip easy and fun, sharing all the helpful things I learned on my trip, and saving you tons of time on research.
To explore Japan’s highlights for our first visit, we followed the “Golden Route”. Hopping from the energetic city of Osaka to the serene temples of Kyoto to the neon-lit streets of Tokyo. We even snuck in a night of zen at a traditional ryokan in Hakone and a day trip to Nara’s ancient deer park. It was the perfect mix of urban exploration and cultural immersion, and we can’t wait to go back and explore more.
To simplify our travels and maximize our shopping, we decided to end our trip in Tokyo. This way, we could purchase the bulk of our souvenirs and larger items, like suitcases, without worrying about schlepping extra luggage around (or paying for it to be schlepped – more on that later). Feel free to reverse the itinerary or customize it to your preferences!
Things to know before you go
Getting there: There are two airports you can fly into Tokyo – Narita and Haneda. I would suggest Haneda because it’s much closer to the city center.
Visas: Before your trip, register on Visit Japan Web and fill out your paperwork ahead of time instead of on the plane or in the customs line. You still have to wait in the same line for immigration but right after, there should be a kiosk to scan your QR code that is generated on Visit Japan that will get you through much quicker. Granted, we did land at 4:00 am, but we got through in under 5 minutes. (TIP: I would save this website to your home screen for quick access).
Communication: If you don’t want to pay the crazy fees from your carrier, which could include hefty roaming charges, an eSIM or pocket Wi-Fi are going to be your main options. An eSIM is the most convenient way to go, but your phone has to be paid off and eSIM capable. Alternatively, you could rent a pocket Wi-Fi which is convenient if you have multiple devices to connect, but is difficult when traveling in a group and adds the hassle of charging an additional device every night. (I did forget a time or two and ended up having to sit in a coffee shop and charge…)
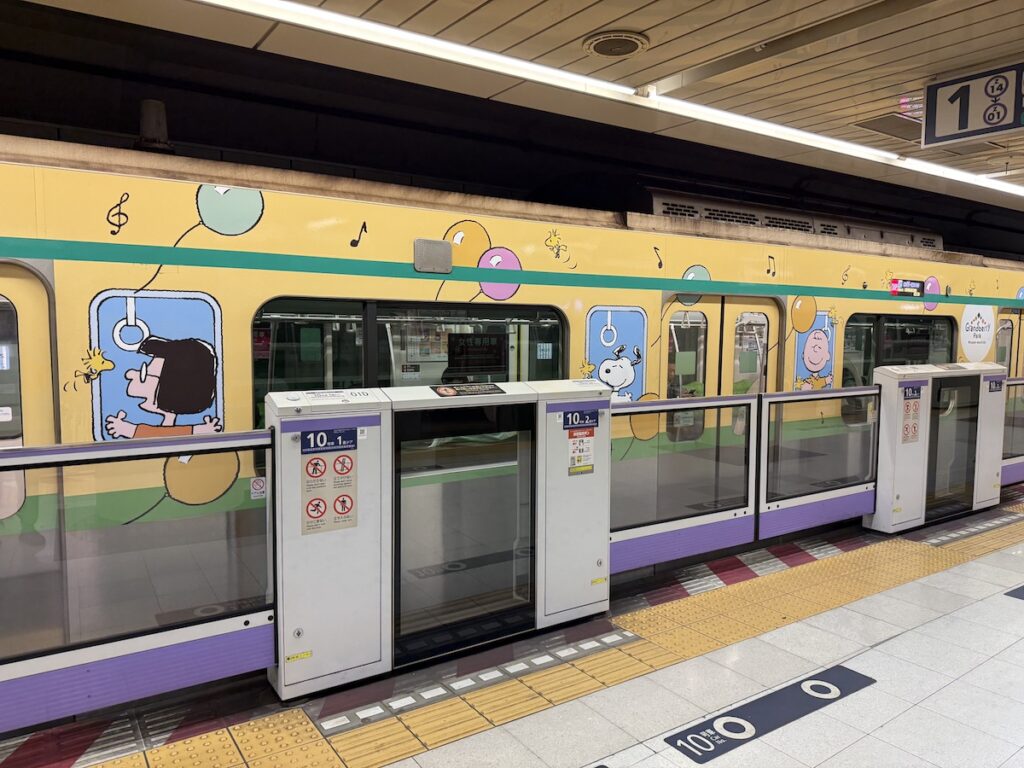
Transportation: Japan has one of the best public transportation systems in the world. I would highly suggest taking advantage of it. Don’t let it intimidate you if you’ve never taken the train before, or don’t know the language. Just using Apple or Google directions on your phone provides very specific directions to follow and everything in the train stations are very well labeled.
- The JR Rail Pass – This was not the best fit for our trip. We didn’t take enough day trips to make it worthwhile. Here’s a helpful tool where you can calculate if getting the rail pass will save you money, or if you should stick to buying individual tickets.
- IC card (prepaid transport card – ex: Suica, Pasmo) – this can either be a physical card or a virtual card you have in your wallet on your iPhone. You just scan either as you pass through the barriers – this is by far the easiest form of ticket to use – just ensure you have money loaded on your card and the balance isn’t low.
First Timer’s 14-Day Japan Itinerary
Day 1: Arrive in Tokyo, jet-lagged but excited! Explore a little, get your bearings.
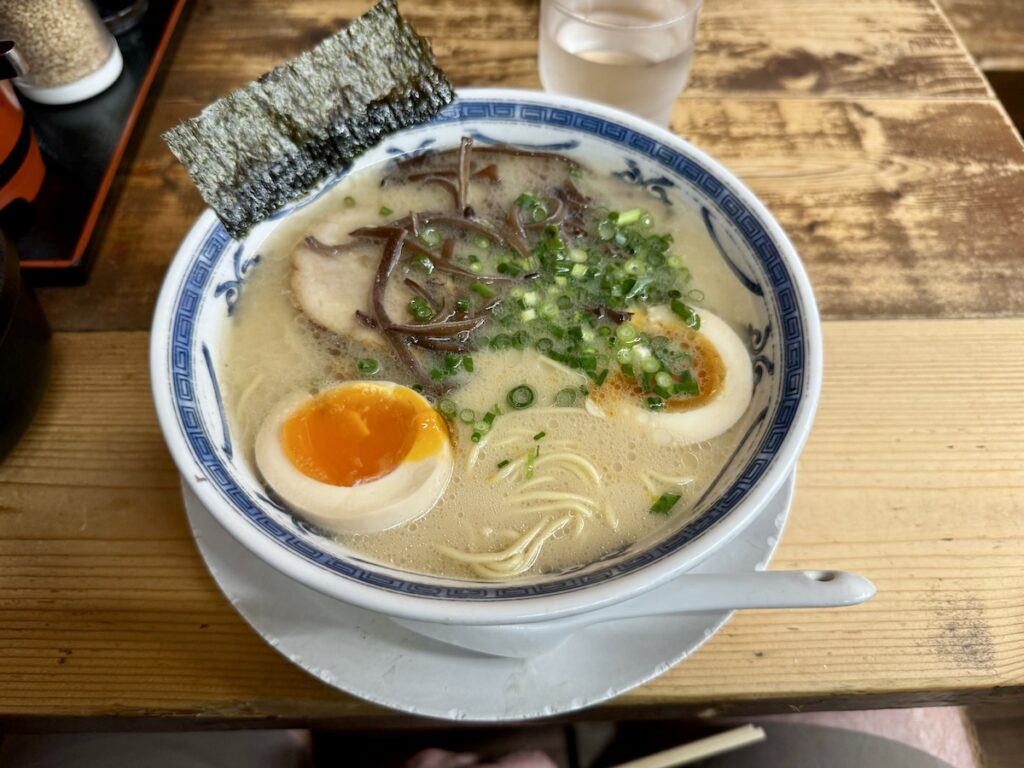
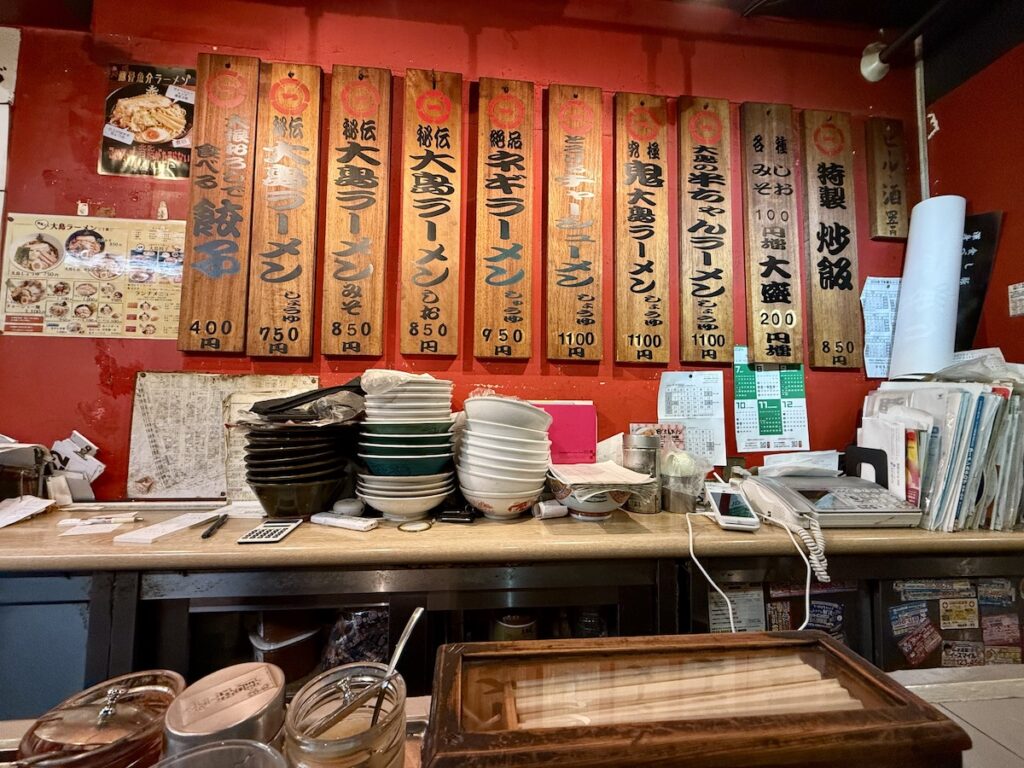
Day 2-4: Head to Osaka, the city of food and fun.
Day 5-7: Explore Kyoto‘s ancient beauty.
Day 8-9: Escape the city and head to Hakone. Known for its hot springs, stunning scenery, and Mount Fuji views.
Day 10-14: Return to Tokyo to explore the city’s many neighborhoods and enjoy its vibrant culture.
Day 1 – Fly into Tokyo, explore a little, get your bearings
Depending on what time your flight arrives and where your hotel is, determines your plans for this day. We arrived in Tokyo at 4:30 AM and checked into our hotel in Ginza (luckily they had a room ready for us). After a quick nap, we explored the neighborhood for what Ginza is known best, shopping! By 6:00 PM, we were exhausted from the long flight and decided to call it an early night.
If you’re planning a similar itinerary, consider pacing yourself and prioritizing rest, especially if you’re arriving on an overnight flight. However, if you wanted to get an early jump on your next destination and head straight to Osaka, that’s possible, too.
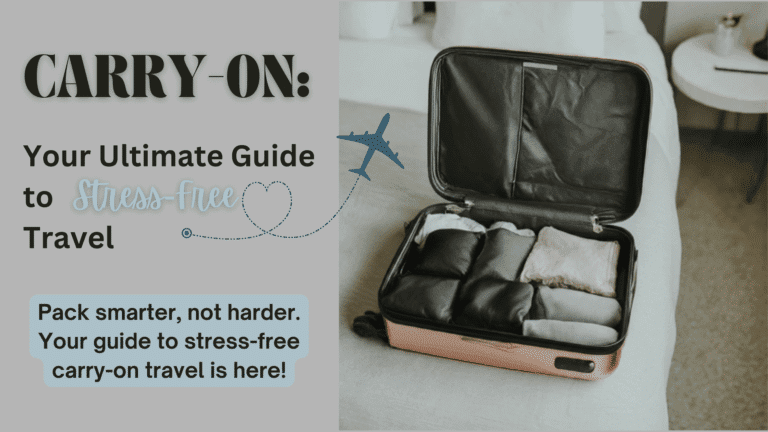
TIP: One of my favorite conveniences of Japan is luggage forwarding. Many hotels will offer this service, where they’ll transport your luggage to your next hotel for a surprisingly small fee. For our two carry-on sized suitcases, the average cost was around $25 USD. This was a game changer, as it saved us the hassle of lugging heavy bags through train stations and onto crowded trains.
To ensure timely delivery, drop off your luggage at the hotel lobby by 1 PM the day before your departure. We packed a change of clothes and our toiletries in our backpacks and just traveled with those and had no issues. It was so amazing to show up to our hotel in the next city and our luggage already there waiting for us!
Day 2-4: Osaka
It’s officially time to get your trip started! Start off by traveling on the Shinkansen (bullet train) from Tokyo to Osaka. The trip takes about 2.5-3 hours and you can pre-book tickets via Klook.
Osaka is such a unique blend of old and new. It was probably our favorite city we visited. With three days here, you could spend a couple of days exploring Osaka’s main attractions and then take a day trip. Or, you could opt for two day trips and check out Osaka at in the evening.
Transportation of choice: train
Highlights:
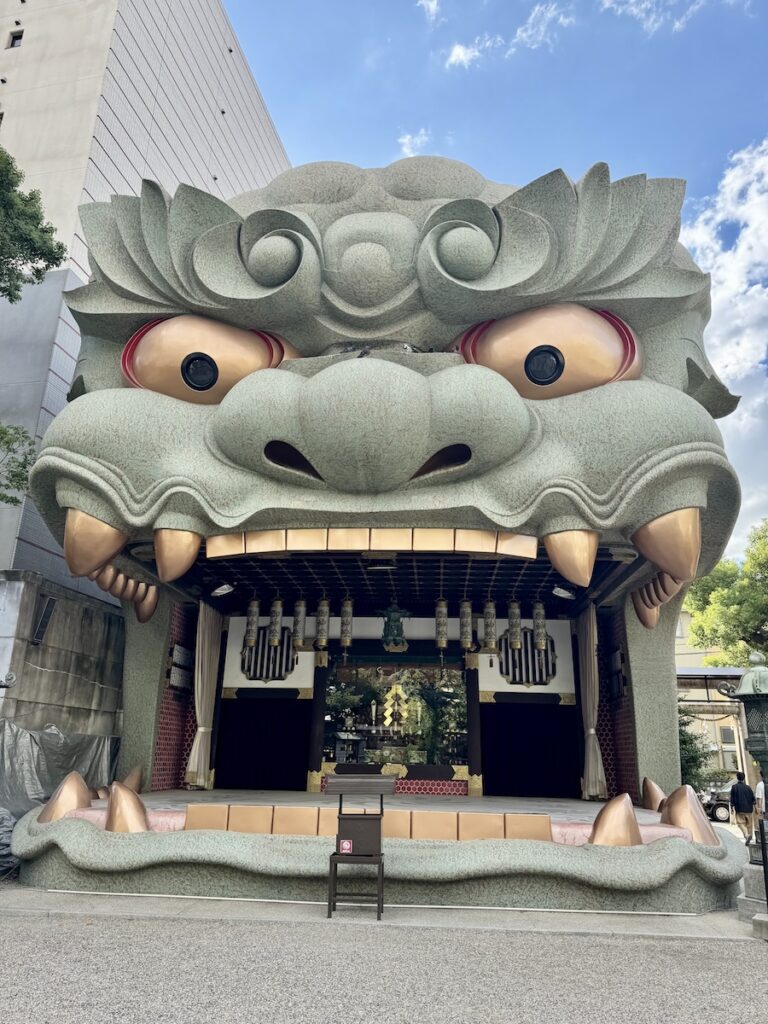
- Namba Yasaka Shrine: This small Shinto shrine, known for its striking lion-head shaped building, is a must-visit. This impressive structure is believed to ward off evil spirits and bring good luck.
- Shinsekai: A retro district with a nostalgic atmosphere, featuring the iconic Tsūtenkaku tower and a museum displaying vintage Japanese pop culture.
- Shinsaibashi: Check out the vibrant shopping scene of Shinsaibashi, a bustling shopping street lined with department stores, boutiques, arcades, and street food.
- Shitenno-ji: As one of Japan’s oldest temples, Shitenno-ji offers a serene escape from the city.
- Dotonbori: Experience the iconic neon lights of Dotonbori, a popular entertainment district filled with restaurants, bars, and shops. You can also take a boat cruise along the Dotonbori River to enjoy the stunning views of the illuminated city.
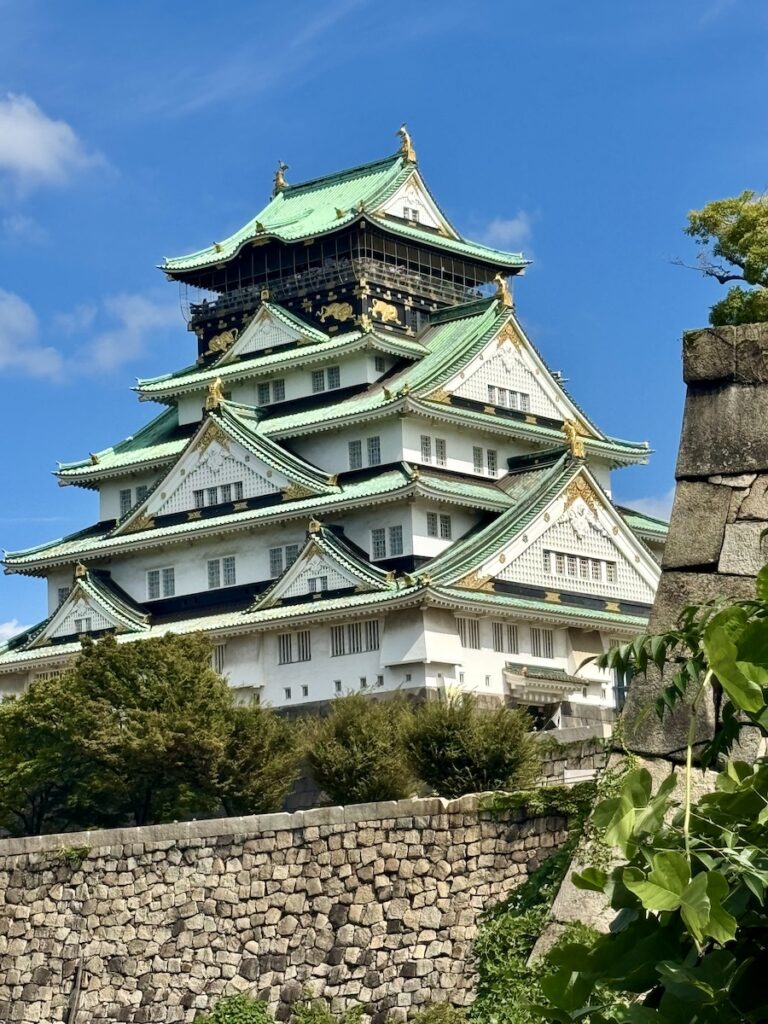
- Osaka Castle: Explore this historic landmark and don’t miss the stunning panoramic views of the city from the top of the Castle (called the main keep).
- Umeda Sky Building: Ascend 40 stories to the Floating Garden Observatory for panoramic views of Osaka’s skyline.

Must do activity:
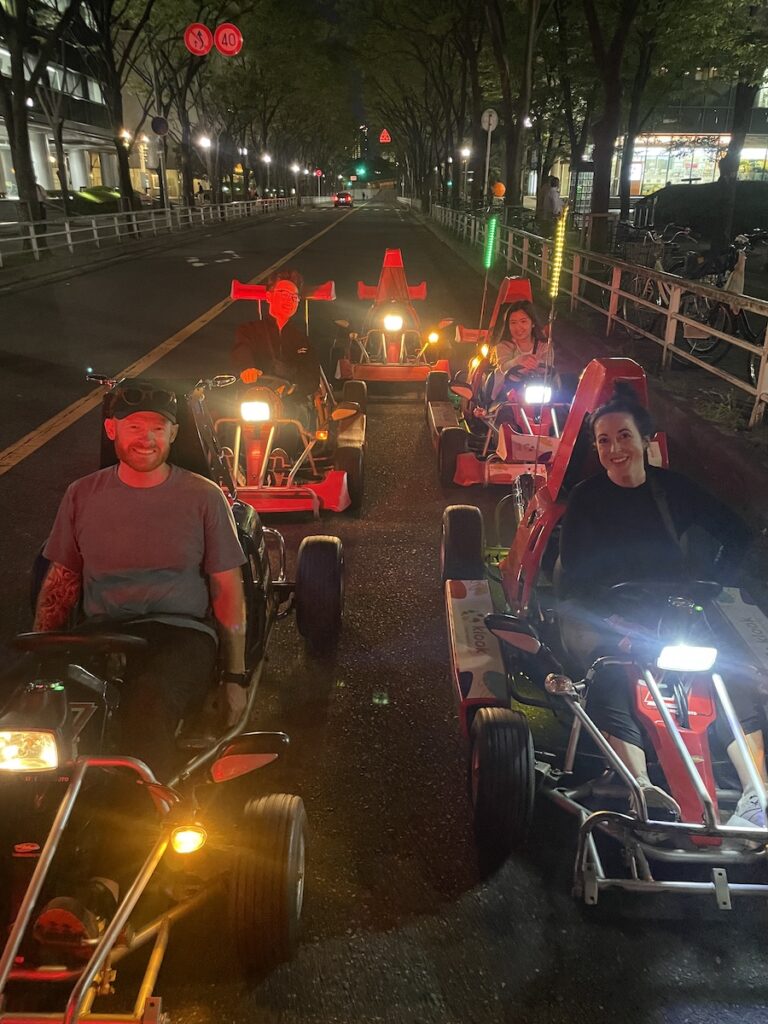
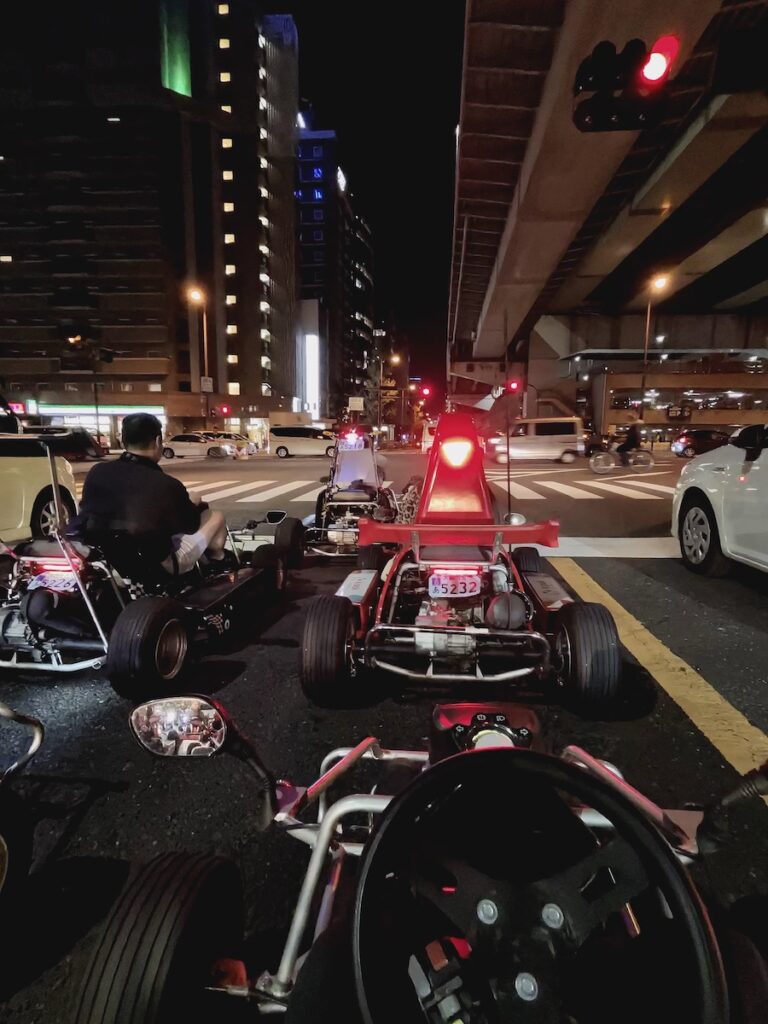
Go Karting – We did a two hour nighttime guided tour via go kart around Osaka and it’s the most fun activity we’ve ever done. I cannot recommend this enough.
Day Trip Options:
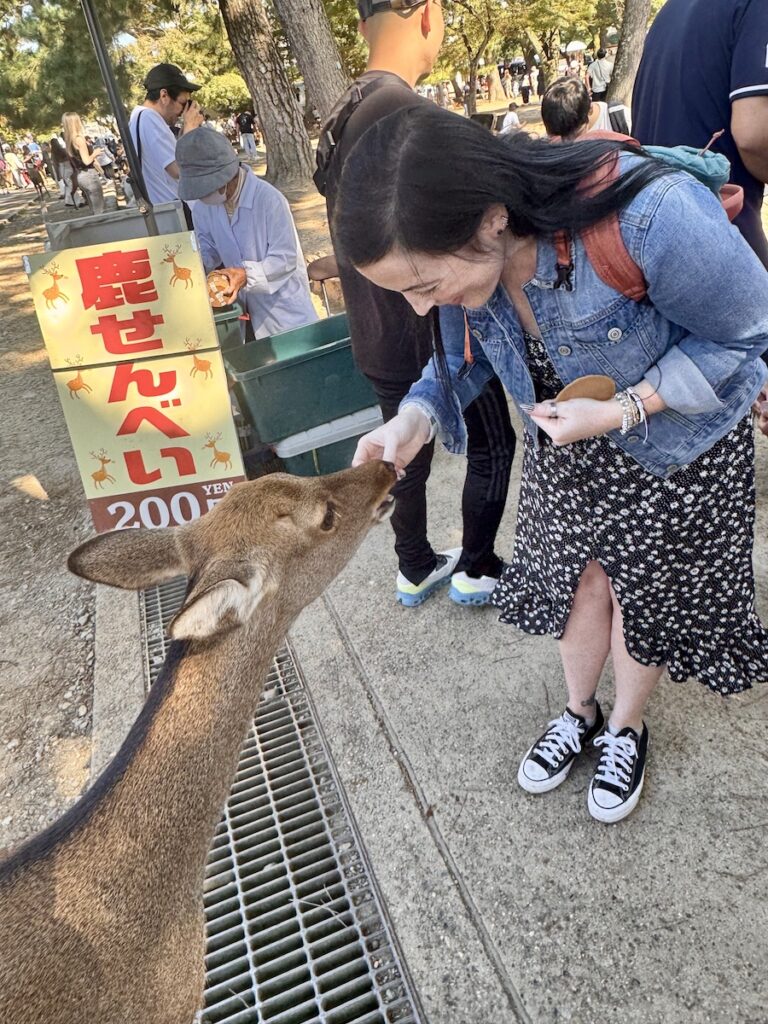
- Nara
- Kobe
- Universal Studios Japan
- Cup Noodle Museum
- Katsuoji – temple with thousands of Daruma dolls
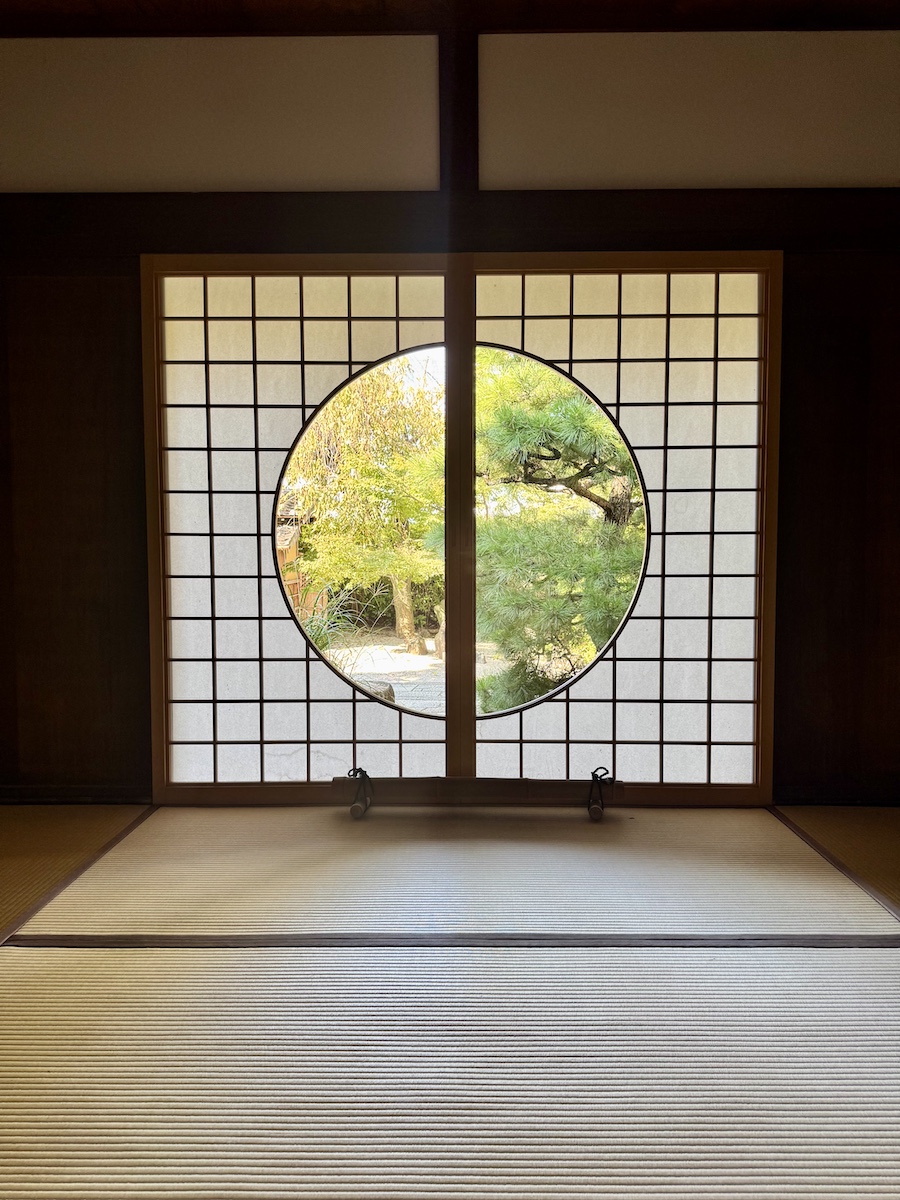
Day 5-7: Explore Kyoto
Now we’re off to the cultural heart of Japan, Kyoto! Depending on what area your hotel is in, you can take the Shinkansen to Kyoto or just a regular train via the Keihan line. The Shinkansen only takes about 15 minutes, but if you have to transfer multiple times to get to the correct station, it could save time and money to just take a regular train.
TIP: Check out the Aoniyoshi Sightseeing Train for a really unique train experience. You’ll need to book this a month in advance of your trip when the tickets open. You will not be able to book last minute (trust me, I tried – that even means the week before). Tickets can be booked here. Make sure you’re booking the train car “Aoniyoshi Sightseeing Train” as there are multiple available, but the sightseeing train is the one you want. It leaves at 9:10 on weekdays and 9:35 on weekends.
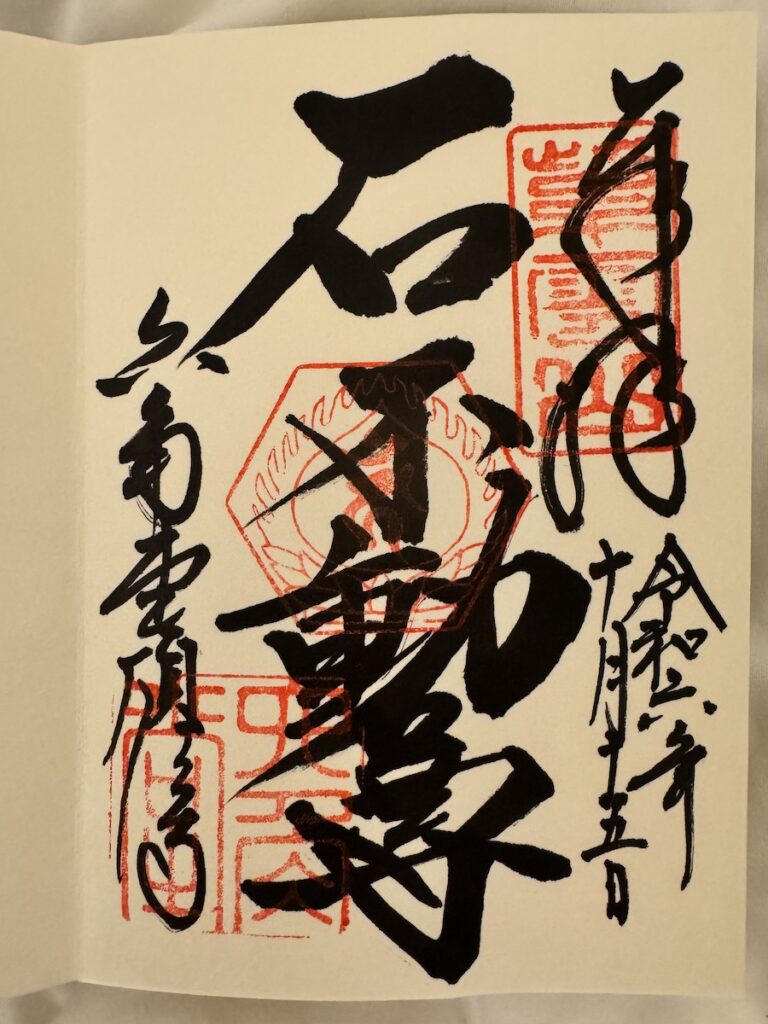
Given the number of temples and shrines you’ll likely be visiting, it’s wise to budget for entrance fees. These typically range from ¥300 to ¥600 per person. Also, many of these sites only accept cash, so it’s best to have plenty on hand. TIP: Get a notebook for Goshuin – these are handwritten stamps at temples and shrines.
Transportation of choice: For most local sightseeing you’ll use the bus here unlike other cities.
Highlights:
- Fushimi Inari Taisha: This is an iconic Shinto shrine with thousands of red torii gates lining the paths. Be sure to visit early to avoid the crowds (around 7:00 am).
- Ryōzen Kannon Temple: This unique Buddhist temple with a 24 meter concrete statue of Kannon serves as a war memorial for the Pacific War and World War II. This was one of my favorite temples due to the serenity and calm I felt here.
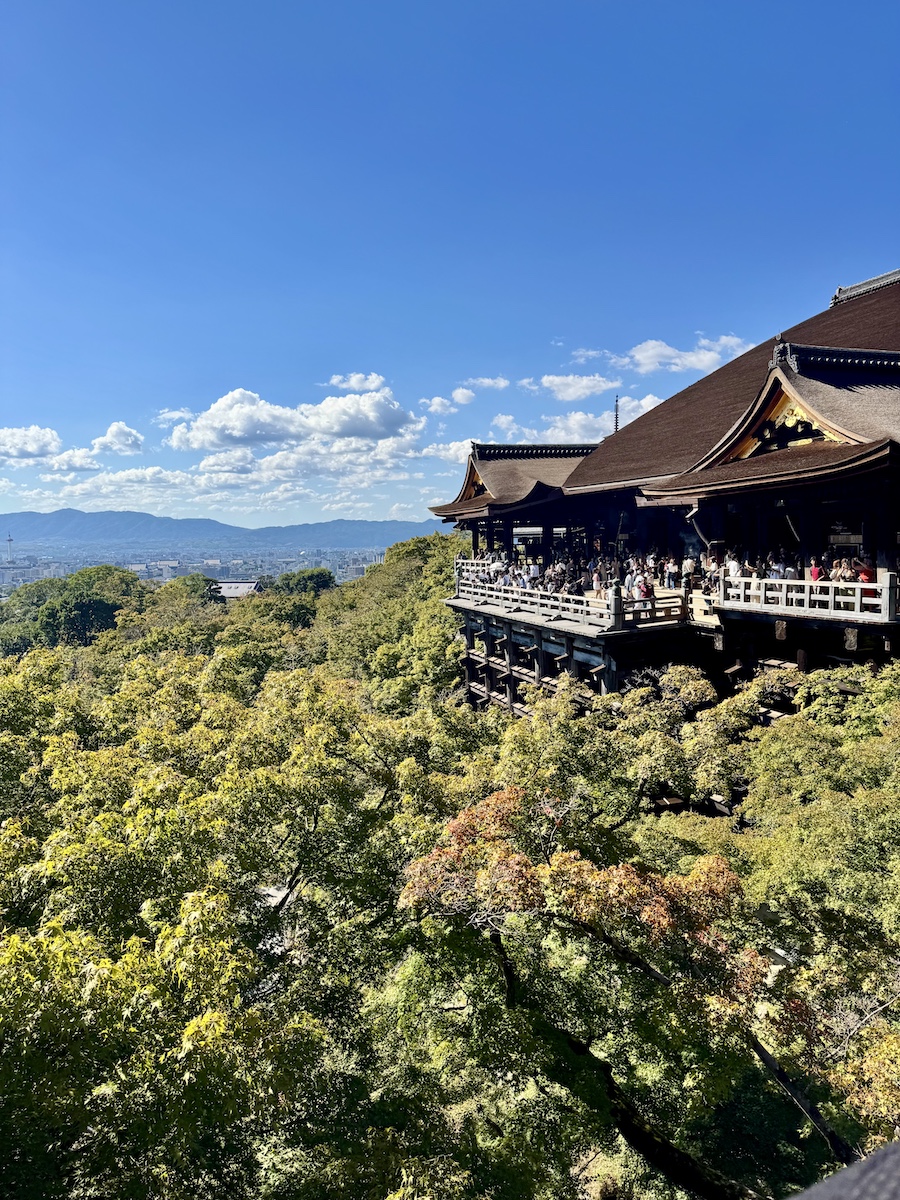
- Kiyomizu-dera: This temple offers breathtaking panoramic views of Kyoto. Especially beautiful during Sakura season and autumn.
- Yasaka Kōshin-dō Temple: This temple is associated with the “Three Wise Monkeys,” symbolizing the proverb “see no evil, hear no evil, speak no evil. It’s known for its colorful decor and the unique custom of tying colorful fabric balls called “kukurizaru” to the temple grounds. These balls represent self control and bad habits visitors want to get rid of. This was my favorite temple we visited.
- Gion District: Kyoto’s most famous Geisha district. Sanenzaka and Ninenzaka are the iconic streets you typically see photos of. Be respectful as you explore this area and do not approach any geisha or take their photo.
- Teramachi Kyogoku: Must visit, historic shopping street with traditional and modern shops. Includes boutiques, arcades, food stalls, animal cafes (where you sit and play with animals), really anything you could think of. TIP: great for rainy days because it’s covered.
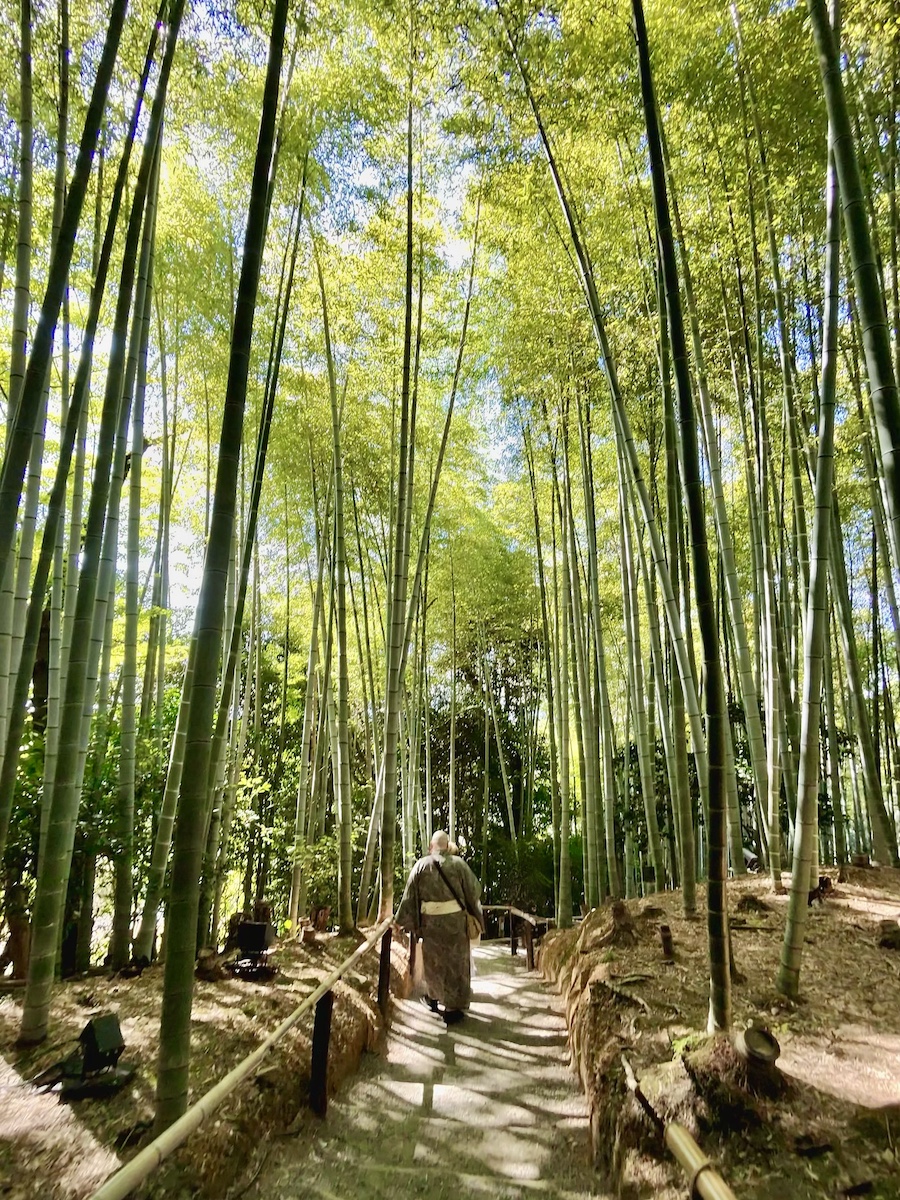
- Arashiyama: The famous bamboo forest is here, but there are also stunning river views, cute shops, and a monkey park. It feels like you’re further out into nature. Give yourself some extra time here to explore.
- Kinkaku-ji: One of Kyoto’s most picturesque temples, is covered in gold leaf and is another must-visit.

Must do activity:
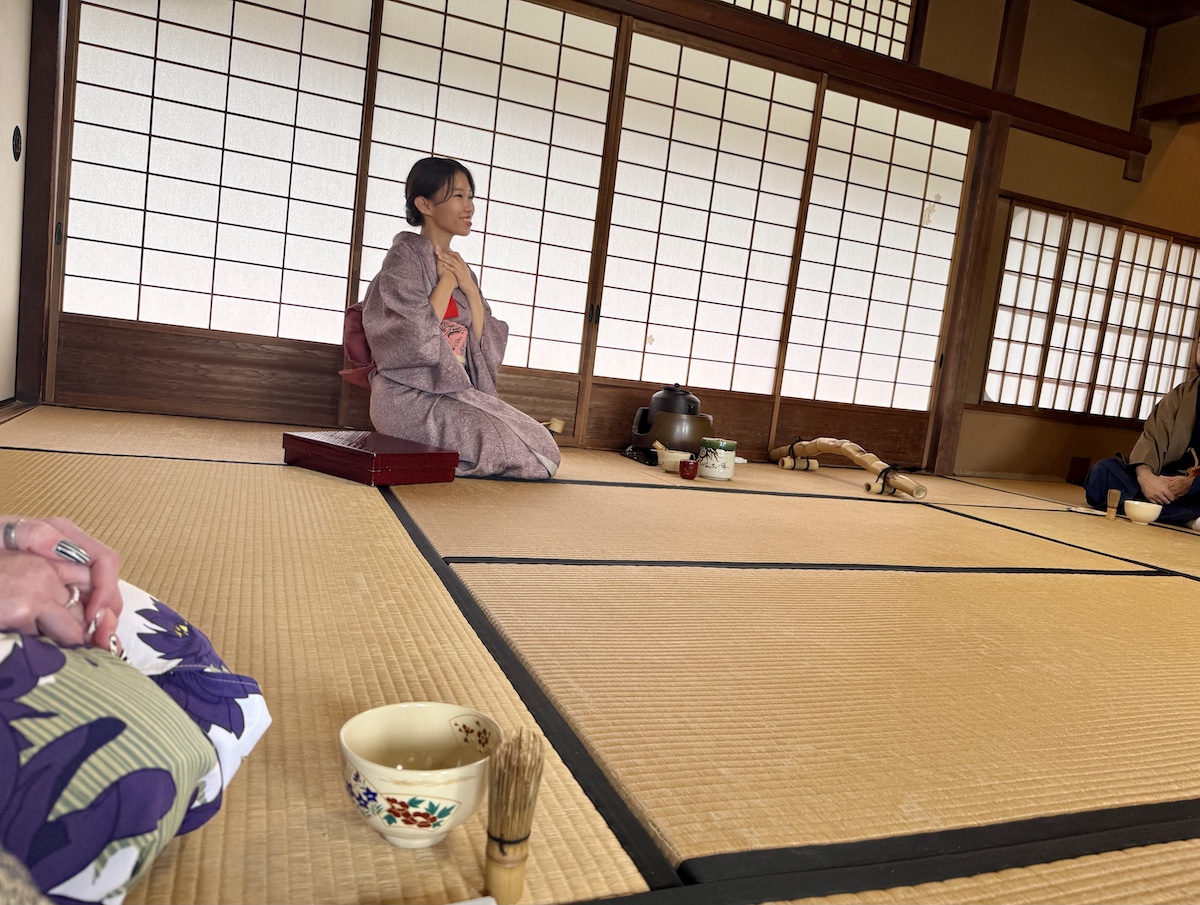
Kimono Tea Ceremony – Dressing in a traditional kimono and participating in a tea ceremony was a truly unforgettable experience. It was fascinating to learn about the intricate details of the tea ceremony and to try making matcha tea ourselves.
TIP: If I were to rebook this, I would book it later in the day, after the temples are closed. Because most temples close at 4 – we lost a lot of time going to see them since I booked our ceremony at 1 pm.

Day 8-9: Hakone
After the hustle and bustle of the cities, we’re escaping to the serene hot springs of Hakone. It’s time to unwind and recharge in the serene beauty of nature before we jump back to the craziness of Tokyo. You’ll start by taking the Shinkansen from Kyoto to Odawara Station, which takes about two hours. The journey to your final destination in Hakone can vary depending on the location of your ryokan (which I highly recommend staying in over a regular hotel here). If you’re staying further up the mountain, you’ll need to take the scenic but slower Hakone Tozan Train, which adds about 40 minutes to your travel time.
Transportation of choice: TIP – get the Hakone Freepass. You’ll be using many methods of transportation here and this covers them all (full list below). Instead of having to wait in line and purchase each ticket separately, if you buy the Hakone Pass ahead of time, you’ll have a QR code ready to go. Cost is $39.95 per person for 2 days but this does include transportation to Tokyo. You can pre-purchase via Klook here. I would also recommend saving the ticket to your home screen for quick access.
- Hakone Tozan Train
- Hakone Tozan Cable Car
- Hakone Ropeway
- Hakone Sightseeing Cruise
- Hakone Tozan Bus (designated areas)
- Hakone Tozan Bus (Tourist Attraction Sightseeing Bus)
- Odakyu Hakone Highway Bus
- Tokai Bus
Highlights:
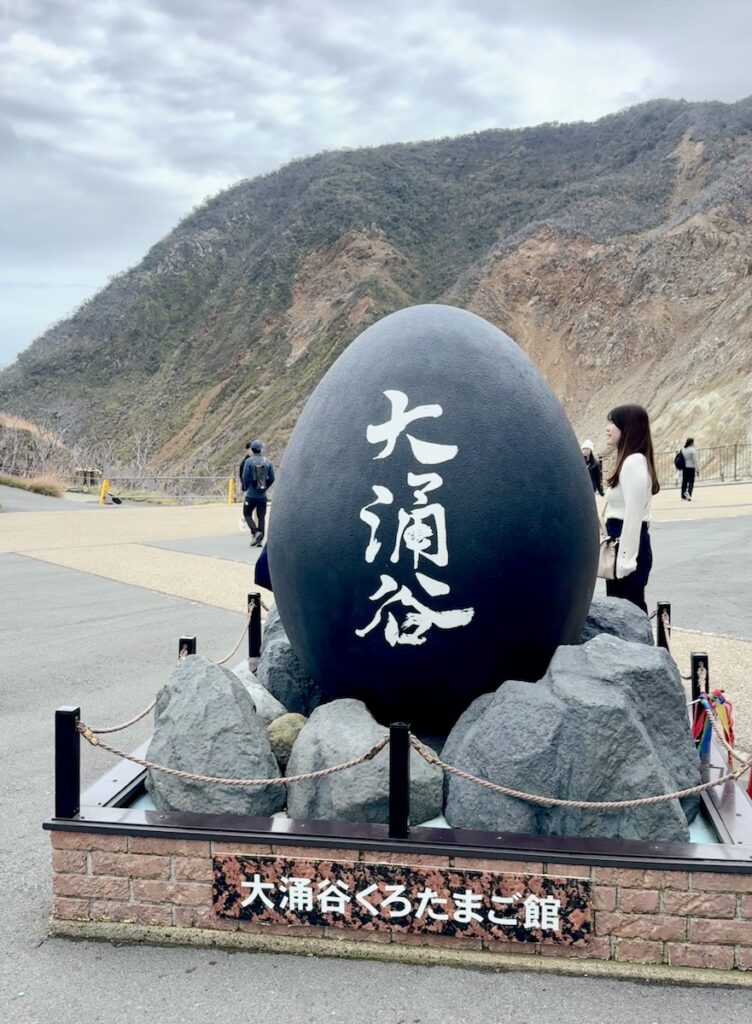
- Owakudani Observatory: This is a volcanic valley with active sulfur vents (beware of the smell) and hot springs, with an observatory offering panoramic views of the mountains and Mt. Fuji. Be sure to get a “kurotamago” (black eggs), these are hard-boiled eggs that turn black when cooked in the volcanic hot springs. According to legend, eating one adds seven years to your life!
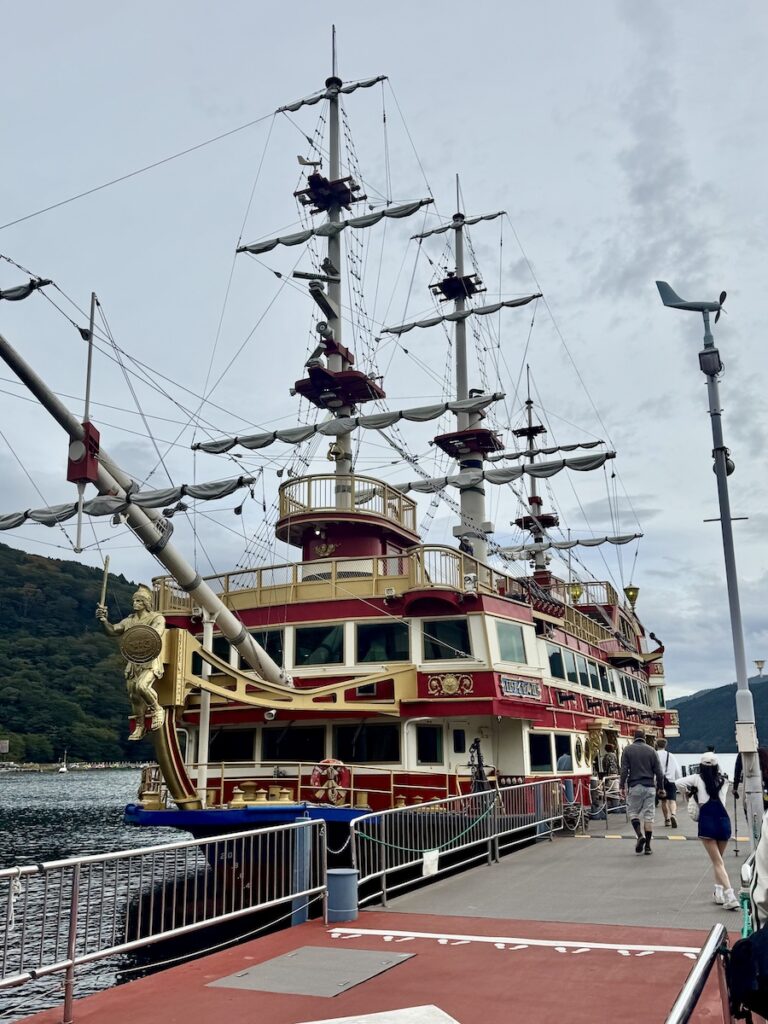
- Hakone Pirate Ship: This is a unique way to explore Lake Ashi. You can get another great view of Mt. Fuji while relaxing on the ship on your way to the Hakone Shrine’s torii gate. (It is very much worth the extra ¥700 it to upgrade to first class, trust me)
- Hakone Shrine: A historic Shinto shrine located on the shores of Lake Ashi. This iconic red torii gate standing in the lake is a very popular photo spot.
- The Hakone Open-Air Museum: This is an incredibly unique outdoor museum with sculptures and artwork spread throughout it’s lush grounds with beautiful scenery.
Must do activity:
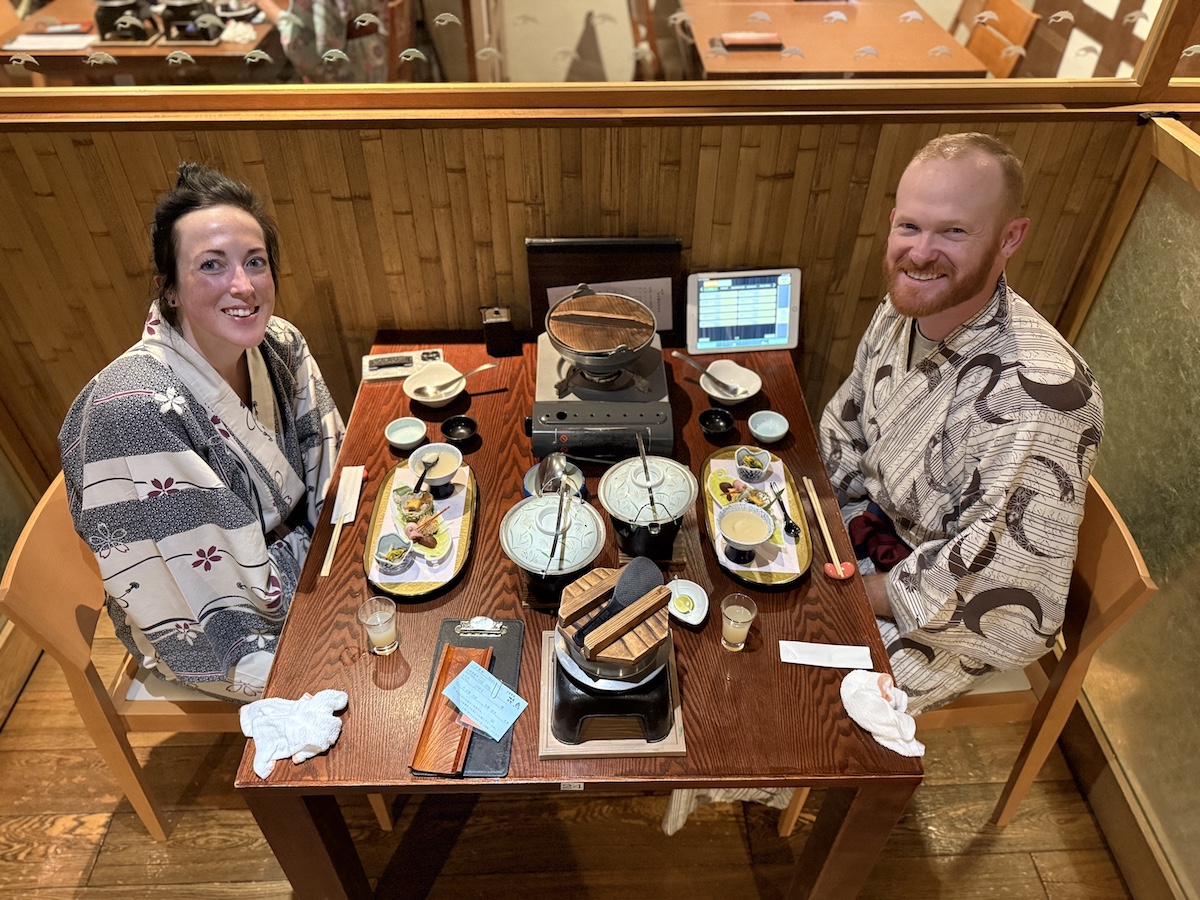
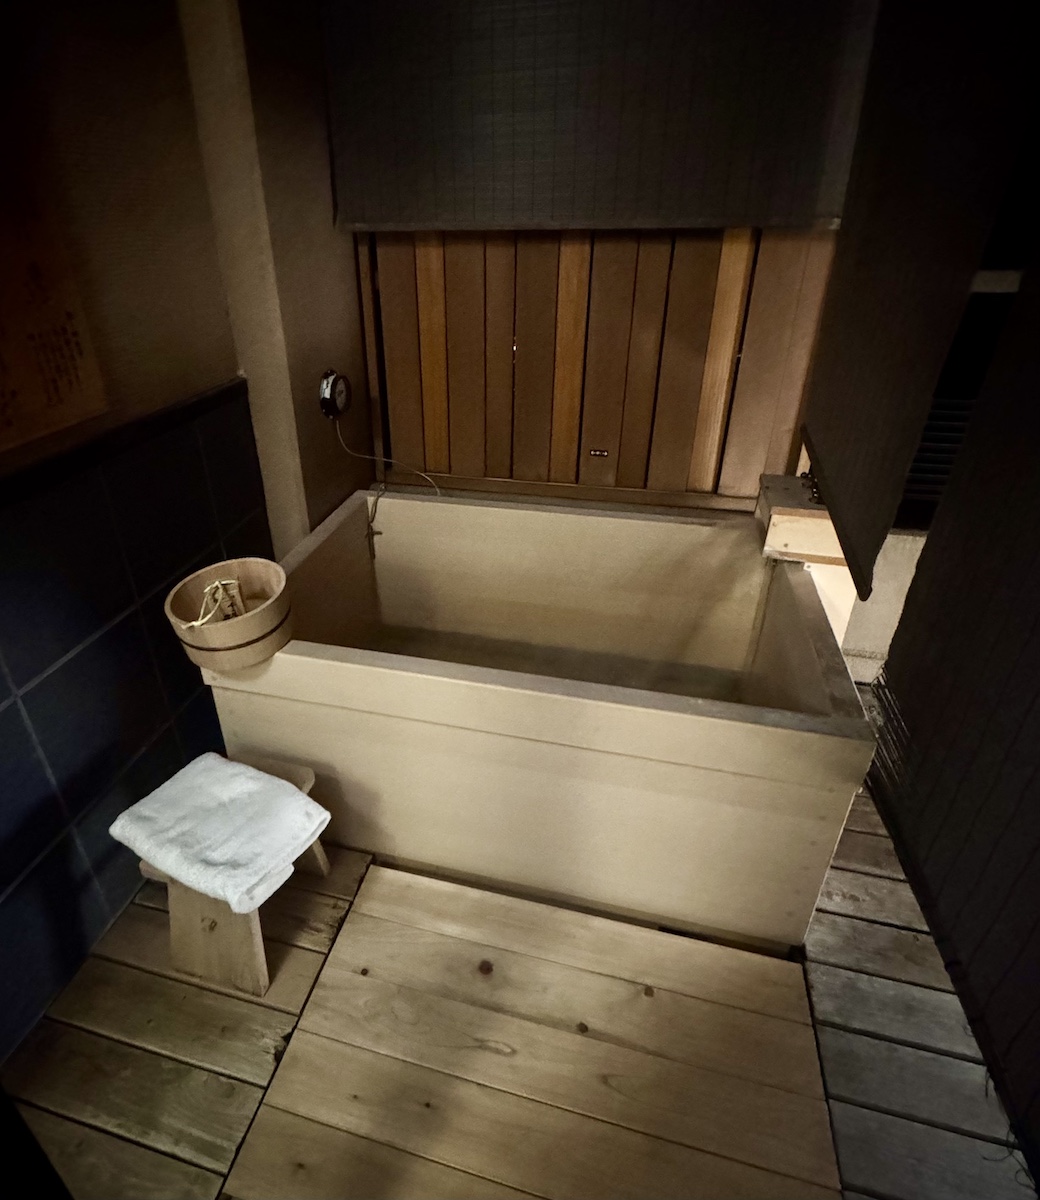
Stay in a ryokan. This is a traditional Japanese inn that usually has a private onsen (hot spring bath) and offers a kaiseki, which is a traditional multi-course Japanese meal. It’s really an amazing experience.
Day 10-14: Tokyo
To head to our final destination, Tokyo, we want to ultimately leave from Odawara station in Hakone on the Odakyu Romancecar. To ride the Romance train, you do have to purchase additional assigned seat ticket (2,300 yen or $15 USD). If you have the Hakone Free Pass, this counts as your first ticket to get on but be sure and either buy the assigned seat ahead of time or at the ticket kiosk at the train station if you’re not in a hurry. We switched over at the Hakone-Yumoto station which is pretty small and didn’t have to go through any barriers so I just showed the ticket collector our Hakone Free Passes and our assigned seats I purchased for the Romance train and we were good to get on.
Tokyo is so large, you’ll never be able to explore everything in just a few days. That was something I had to come to terms with. As much as I wanted to walk 50,000+ steps and see 30 things a day, it’s not physically possible. So, pick a few must-do things and then take it from there.
Highlights:
- Senso-ji/Asakua Shrine: This is one of Tokyo’s oldest and most recognized temples. Nakamise-dori Street is a shopping street connecting the main gate of Senso-ji to the main hall. There are dozens of delicious food stalls and souvenir shops here.
- Takeshita Street in Harajuku: This is a vibrant shopping street offering the quintessential Harajuku culture and experience. It has the cosplay shops, themed cafes, unique fashion stores and accessories, and street food.
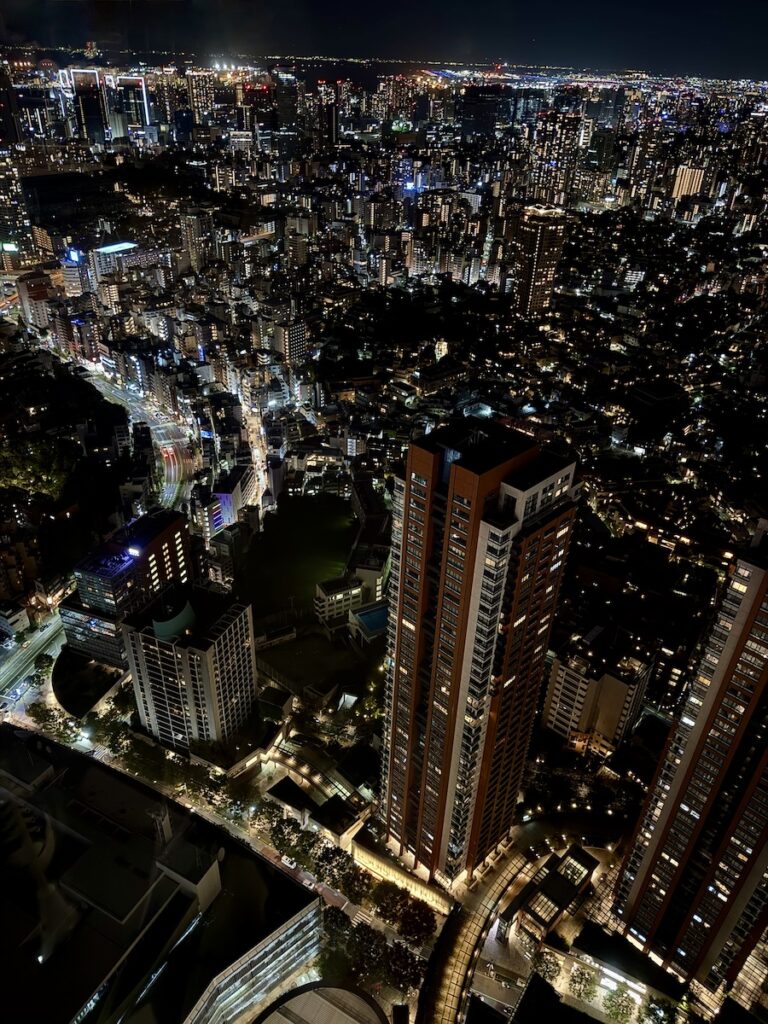
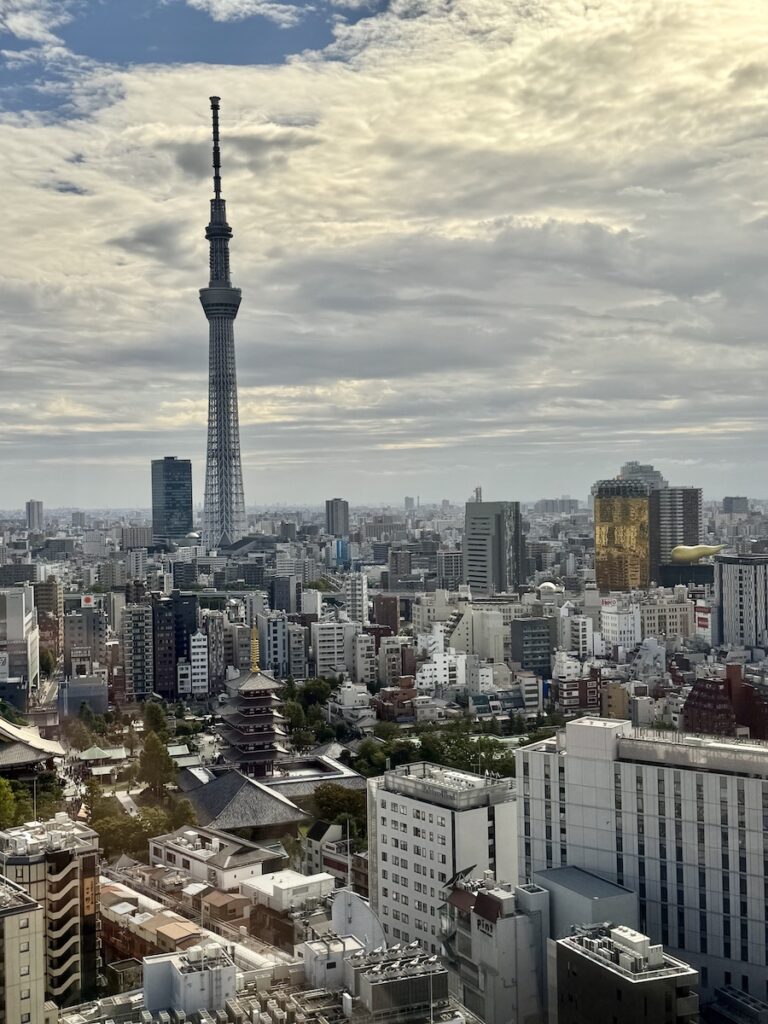
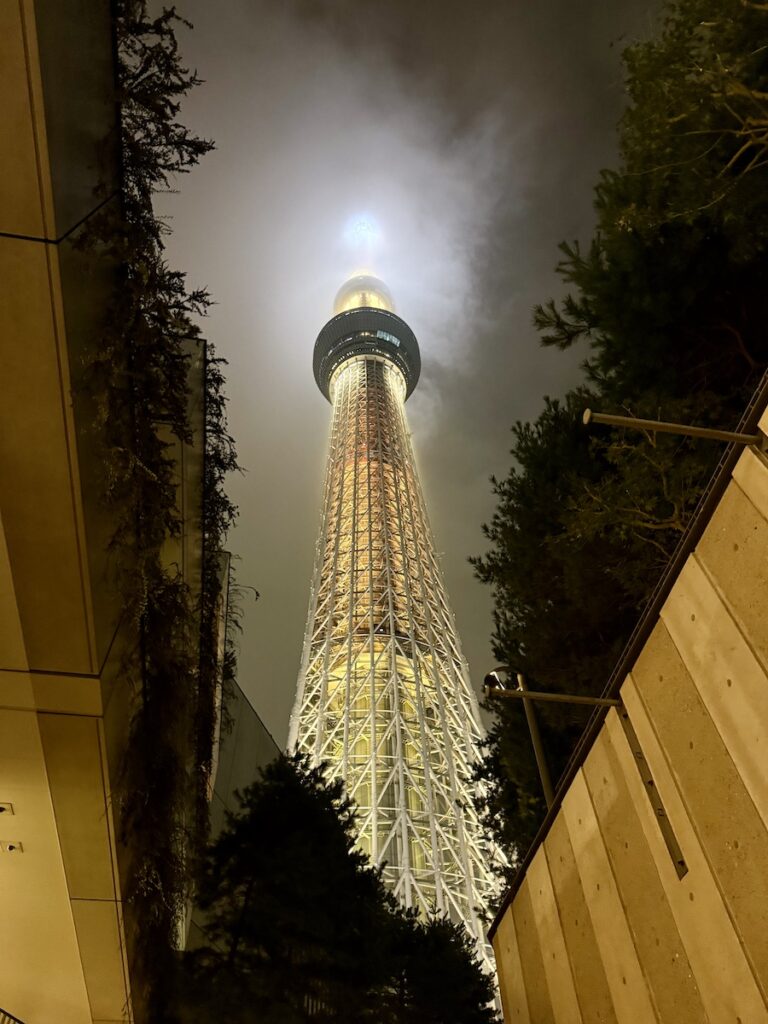
- Tokyo Skytree: Japan’s tallest structure, offering a breathtaking panoramic view of Tokyo. There are also lots of shopping and dining options at the bottom in Skytree Town.
- Shibuya Crossing: The iconic Shibuya Scramble intersection. This is a must-do. To get a good view, head to the second floor of the Starbucks located above the crossing (you do have to buy something in order to pass through and look out the window). Shibuya is also a great area for shopping and food.
- Shinjuku: Area best known for exciting nightlife with the historic Golden Gai district.
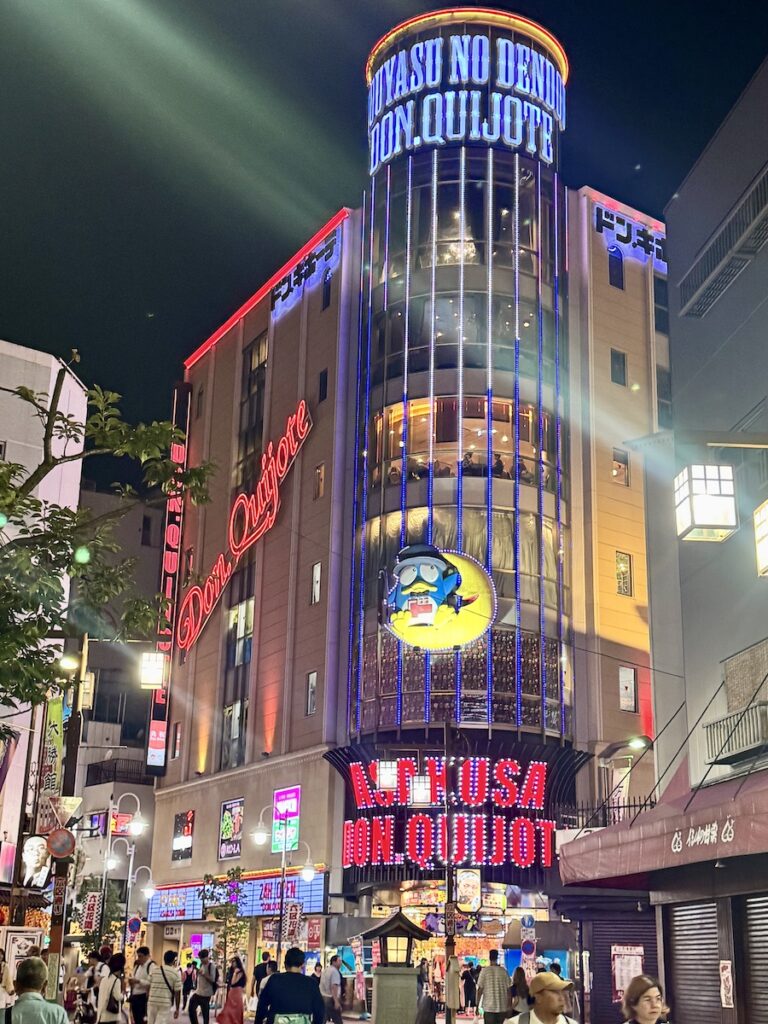
- Don Quijote: no trip to Japan is complete without a stop a Donki. The non-stop jingles, the beauty products, the kit-kats! This and the 7-11 were our nightly pit-stops on the way back to the hotel each night.
- Gōtokuji Temple: Also known as the “Cat Temple,” is a Buddist temple and birthplace of the Maneki-neko, or “beckoning cat,” a popular Japanese lucky charm. There are thousands of Maneki-neko on the temple grounds, it’s really fun to visit. TIP: you might get the Maneki-neko train when transferring to the Setagaya Line, it runs one every ten trains.

Optional day trip ideas:
- Disney World Tokyo
- Nikko
- Warner Bros. Studio Tour Tokyo – The Making of Harry Potter
- Kamakura
This trip showcases Japan’s incredible diversity, featuring Tokyo’s modern buzz, Kyoto’s traditional charm, Osaka’s energetic vibe, and Hakone’s spectacular landscapes.
Hope this guide got you feeling inspired and gives you a great start for your first Japan adventure! If you’d like help booking this trip or creating something totally your own, I’m here as your travel advisor, just enter in your information below! Happy travels!